Top Social

Image Slider

Showing posts with label free. Show all posts

My favourite Harry Potter makes!

Sunday, 21 February 2016
My son, Joshua has recently gotten into Harry Potter, and he has gone HP mad! His birthday is coming up in March and when I asked him what he wanted he made a list of only HP stuff! So the DIY in me began to search the internet to find a couple of goodies to make him. I came across some awesome finds so I'll share a few with you below... Firstly here are the piece's I made him....


The first thing I made him was a golden stitch! This was a super quick project and very simple to do. I used scrap cotton yarn to make mine and I found the pattern for it here.

After this quick make I decided on something a little more challenging... A Mandrake! This one took me a grand total of 17 failed attempts to get it right! But I think it was well worth it as Josh is going to adore it! You can find the pattern to make your own right here.

After crocheting the mandrake I wanted another quick project (are you noticing a pattern here yet? :D) So I decided to make a childrens sized Griffindor scarf. I made this in about 30 minutes (over 5,500 sts in 30 minutes! Pretty sweet right?) on my Prym knitting mill midi. If you haven't tried the knitting mills out before I totally recommend them! They are great if you want to create something quickly and require pretty much no knowledge to do! I have done 2 brief posts before on the larger prym knitting mill before here and here. Maybe I should do a tutorial on it? Anyway, I knitted 13 blocks of colour and each block is about 20 rounds if you would like to replicate it. 

Once I had finished making the scarf I also found a house elf pattern by the same person who wrote the madrake pattern. I was a little hesitant as the mandrake took me 17 attempts! :D But decided to give it ago anyway! This one was much simpler and I managed to finish him in just over a week. You can grab the pattern for this one here.

As well as the ones I made I found some more amazing patterns which I will list below. I won't be making them for Joshua's birthday but I think I'll try and get through as many as I can for his Christmas! 
Squarks the Phoenix, available via Ravelry
Doll sized sorting hat, available via Etsy
Fluffy the 3 headed dog, available via Etsy
Ipad cosy, available via Ravelry
Muggle Mitts, available via Ravelry
Dumbledores Army Armband, available via Ravelry
Wand, available via Ravelry 
The Gamekeeper, available via Ravelry
Monster book, available via Ravelry

Have you seen or found any awesome HP makes? Let me know but commenting below :)

BRRR! Quick Crochet Cowl Pattern

Friday, 15 January 2016
The last few weeks have been so cold here in Berwick Upon Tweed and they don't seem to be warming up any time soon.  So I thought I would whip up myself a toasty new cowl to keep me cozy.  I ordered a ton of new yarn! :D (way more than needed to make a single cowl but who's counting right?! :D) My favourite online yarn shop is Wool Warehouse where I purchased this bargain chunky yarn...
This is the Robin Super Chunky. At just £1.99 a ball it's a complete steal! I purchased just one 100 gram ball of this stuff in Claret colour, but Wool Warehouse also stock 11 other colours of this stuff! You can find it here.  In one evening I had finished making and here is the result...
Fancy making your own? You will need...
-A 15mm crochet hook
-1 ball of Robin Super Chunky in your favourite colour
-Needle
-Scissors


Terms (in American terms):
CH - Chain
SC - Single Crochet
DC - Double Crochet
SL ST - Slip sitich
ST - Stitch

Note:
This pattern uses cross over cable stitch. To do this you need to work over your 3DC (as created in the instructions) and make your stitch into the skipped stitch. DC as normal but ensure it's a loose st to the same height as your DCs

1. CH 36 stitches. SL ST to first CH ensuring not to twist. (36)
2. CH1 (counts as a st), Make 1SC in every st around. SL ST to join (36)
3. CH3 (counts as a st), *Skip the first st. 3DC, Make a cross over cable stitch (see notes)* Repeat this until you reach the end of your row. The last set of stitches should have 2DC instead of 3. Sl st to the top of your CH3 to join (36)
4-9. Repeat step 3
10. CH1 (counts as a st), Make 1SC in every st around. SL ST to join (36) Fasten off and weave in all ends. 

And your done! Time to snuggle into your brand new super easy and super quick cowl! :)

If you do choose to make this feel free to share your cowl on our social media pages or tag us! We love to see your makes! 

Happy crocheting! 


Easter Weekend...

Monday, 6 April 2015
So how was your Easter weekend?  It was a busy one here at HOW HQ! We had Easter egg hunts, a spring clean, family visits and getting your orders done.  As well as that we managed to get a new crochet pattern up just for you.  This is another FREE one (Don't say we aren't good to you!)  Inspired by all the delicious food we consumed over the past week I give to you.... 

....the macaroon necklace.  This super quick statement necklace is the perfect way to update your wardrobe for summer.  Whip up a fresh batch in assorted colours using your yarn scraps.  These could also be used to make a macaroon collar, bracelet or brooch.  The possibilities are endless! So head over to our Craftsy store now and download your free printable PDF pattern.  

All of our downloadable patterns are super simple and are written in US crochet terms.  All of our patterns are also on 1 sheet of A4 paper where possible to save paper & ink! :)

Can't crochet and need your very own macaroon accessories? Then get in touch right here and we shall sort you out :) If you do make these send us over a picture as we love to see your creations :)

Have a glitter filled day Wonderlanders!
Tess x

Make your very own crochet teething rings!

Saturday, 4 April 2015
This week has been a super busy week here at HOW HQ with lots of custom orders and potting and planning going on behind the scenes. (mwahhh ha ha ha) One of the makes from this week are these set of 3 wooden teething rings.

The teething rings are made from organic natural ash wood and coated in beeswax.  I sourced these from a responsible online retailer which plants another tree for everyone cut down. YAY!

So here they are....
fancy making your own? Scroll down for the free pattern :)

To make your very own you will need:

-Wooden teething rings,
-Oddments of DK yarn,
-3mm Crochet Hook,
-Scissors & Needle.

*This pattern is worked into the back loop only.*
1. Chain 31 stitches,
2. Skip the first stitch. Work 1 single crochet into every stitch across.(30) Chain 1.
3. Repeat row 2 for a total of 6 times. Fasten off and leave a long tail for sewing.
4. Hold your crocheted strip over the teether. (you may need to pull a little, you want a tight fit) Whip stitch closed to secure.
And ta dahhh! It's that simple.  I had a fiddle working this design in various yarns and hook sizes but found this method to give the best fit.   

These would make a fab little gift for any chomping little dude or dudette. Can't crochet and NEEEEED these? Then get in touch right here and we shall sort you out :) If you do make them send us over a picture as we love to see your versions :)

Have a glitter filled day Wonderlanders!
Tess x

P.S. Don't forget to head over to our Etsy store tomorrow to get our special easter bunny sale :)

Bear Cot Mobile Tutorial

Tuesday, 24 March 2015
Today marks 32 weeks of ickle bump! So with it only being 8 weeks until baby makes his entrance I spent the last weekend working on a brand new cot mobile for him.  I thought I would share with you how I made it so if you fancied making your own you can! YAY!

I'm creating quite a modern(ish) nursery so when I saw these knitted fabric packs by designers Bob & John knitwear I had to have them!  

Jonie was very helpful and sent over a photograph of all the packs she had available so I could choose 3 suitable packs.  These retail at £8 a pack or you can get 3 packs for £20.  It's insanely great value and the quality of the fabrics are just amazing.  I found I needed 3 packs to make 5 bears for my mobile and I have some scraps left over which im planing to make some booties with too!

After finding the perfect fabric I began my search for a simple modern bear template to use.  I came across Warren the Charity Bear on Pinterest.  I printed the bear pattern at A6 size to fit on my fabrics.  I used the main body piece and the tall muzzle.  Once I had printed and cut out my pattern I matched up two co-coordinating pieces of fabric and drew my pattern in sharpie on the back.  I pinned it together and then sewed it just to the left of my outline.  I found this method worked best and trimming after as the knitted fabric and smallness of the bears made it a little fiddly to do.  
As you can see I left a little gap for turning.  Once my bear had been cut out and turned I stuffed the bear with The Craft Factory Supersoft Toy Filling.  I then hand sewed the little gab closed and repeat the process to make as many bears as you want :)

After you have finished making your little bits you need to give them their own little personalities!
For the muzzle I attached a scrap piece of interfacing to the back of a scrap piece of cotton fabric and embroidered my nose in brown embroidery floss.  I added little ric rac trip, 3mm coloured buttons, tulle and other craft supplies to give them their own little characters! 
Ta Dahhh! Here are the completed bears I made.  I'm very happy with how they turned out.  I think the fabrics and characters work so well together and they look quite modern and geometric which I love.

After the bears I crocheted up some little balls to tie onto the sting.  I made 5 little balls in assorted DK yarn using a 2.5mm crochet hook.
To make the balls simply follow this pattern:
Row 1: Magic Circle, Make 6 Single Crochets into the circle. (6)
Row 2: Make 2 Single Crochets into every stitch. (12)
Row 3: Make 2 single crochets in the first stitch and 1 single crochet into the second stitch.  Repeat this to the end (18)
Row 4-7: Make 1 single crochet into every stitch.
Row 8: Skip 1 stitch, single crochet 2 stitches.  Repeat to the end (12)
Stuff your little ball now :)
Row 9: Skip 1 stitch, 1 single crochet.  Repeat to end (6)
Fasten off and weave in ends.

After making these balls I also made 3 more using the same method but working with embroidery floss and a 1.75mm crochet hook.  After making all my balls I grabbed a wooden embroidery hoop and secured my bears and balls to the hoop using sewing, super glue and tiny knots. 
I am super please with how it all came out.  I am planning to add a musical box to it along with a stand to make it spin! (I like a challenge! :D)  I hope this little tutorial is of use to you.  Please share anything you do make as I'd love to see how it came out :)

Have a magical day :)
Tess

Make your baby look foxy!

Tuesday, 6 January 2015
WOW! What a busy start to the year already.  It's been all go here at HOW HQ with orders, plotting and planning as well as working on new patterns!  Speaking of which we have a brand new one for you today... Here is our knitted fox cub hat:
Could this be the most adorable hat I have ever made??? ...I think so! It's a simple knit hat worked over two needles and joined together at the back with a seam.  It would be amazing in a whole rainbow of colours too!  You can find the pattern over in our Etsy digital shop right here.

Can't knit? hmmm... Well we are now taking on custom orders! Whooo hooo! So get in touch at sales@how-store.com to commission your very own piece of Wonderland!  Check out some of our past makes below....
Be sure to share any of your awesome HOW makes on our social pages! We would LOVE to see them!

Happy knitting!
Tess x


Make your own Custard Cream biscuit!

Sunday, 28 December 2014
It seems that we have not had a free crafty pattern in a while :( -Boooooo! So I came up with this quick one for you crocheters to whip up! 

Are you looking for a quick and easy project to use up those yarn scraps? Then this one might just be for you. These simple crochet biscuits are made in just 5 simple steps. Add a brooch back to your badges to create a tasty accessory or make a few for your children's toy box!

So here it is....
I LOVE how fast these are to do! With my patience of a goldfish these are a super quick project.  You can grab the pattern for FREE on Craftsy right here

If you do make up these little biccies be sure to spam us with all of your awesome pictures!

Happy crocheting little Wonderlanders!

Tess x

I've been drinking Watermelon...

Tuesday, 24 June 2014
So as you may of guessed lately I have become OBSESSED with crochet! It's so addictive... You might say I'm hooked (HA HA HA! Sorry :D :()

So as I have recently listed some more patterns in our Craftsy and Etsy pattern store I thought it was time for a little freebie. And this one is so simple and fast you can make a full set in one evening! and what are we making I hear you ask?...

How about these gorgeous little watermelon coasters? These little Watermelon coasters are perfect and piratical. Brighten up your home and protect surfaces at the same time with the colourful little delights.

Get the FREE PDF pattern in our Craftsy store here

Don't worry if you can't crochet!; I have recently opened an Etsy store for all of my one off personal makes which you can find here.

Hope you enjoyed this pattern! Post your photos on our facebook, twitter and instagram!

Tess

Make you own Pug Coffee Wrap

Sunday, 15 June 2014
So I was thinking it's about time we had a little free printable and hows this one for you?...
This lovely chap is Bernie! You might recognize him from our prints, mirrors and more! So I was thinking he would look awesome on a paper coffee cup. You can print him however many times you wish but please don't sell him. He would be great for breakfast in bed, tea party's and even pug themed weddings. Here is the other side of the wrap...
So here is the printable:

Print him at 100%, best quality on A4 paper for best results. Cut it out and cellotape it around your cup and voilà! instant cuteness!

Hope you enjoyed this printable! Post your photos on our facebook, twitter and instagram!

Tess

Bat Minion Mittens!

Saturday, 3 May 2014
So last night I had an awesome idea! What about making little crochet mittens inspired by Batman vs Minions?! So I dug out my yarn and came up with these...

Arnt they fab? Inspired by 60's batman these are great for the little ones!

So, fancy making your own? Well you can! You can find our pattern in our new HOW digital shop here

If you are new to Etsy don't forget if you sign up via this link click here you get £5 off your first shop! Not bad huh? So what you waiting for? Got make some bat-minion mittens and get your FREE £5!

If you do make these up we would love to see your pictures! Be sure to post them on our HOW facebook page :)

Tess x

Spiffing Notebook Labels

Monday, 14 April 2014
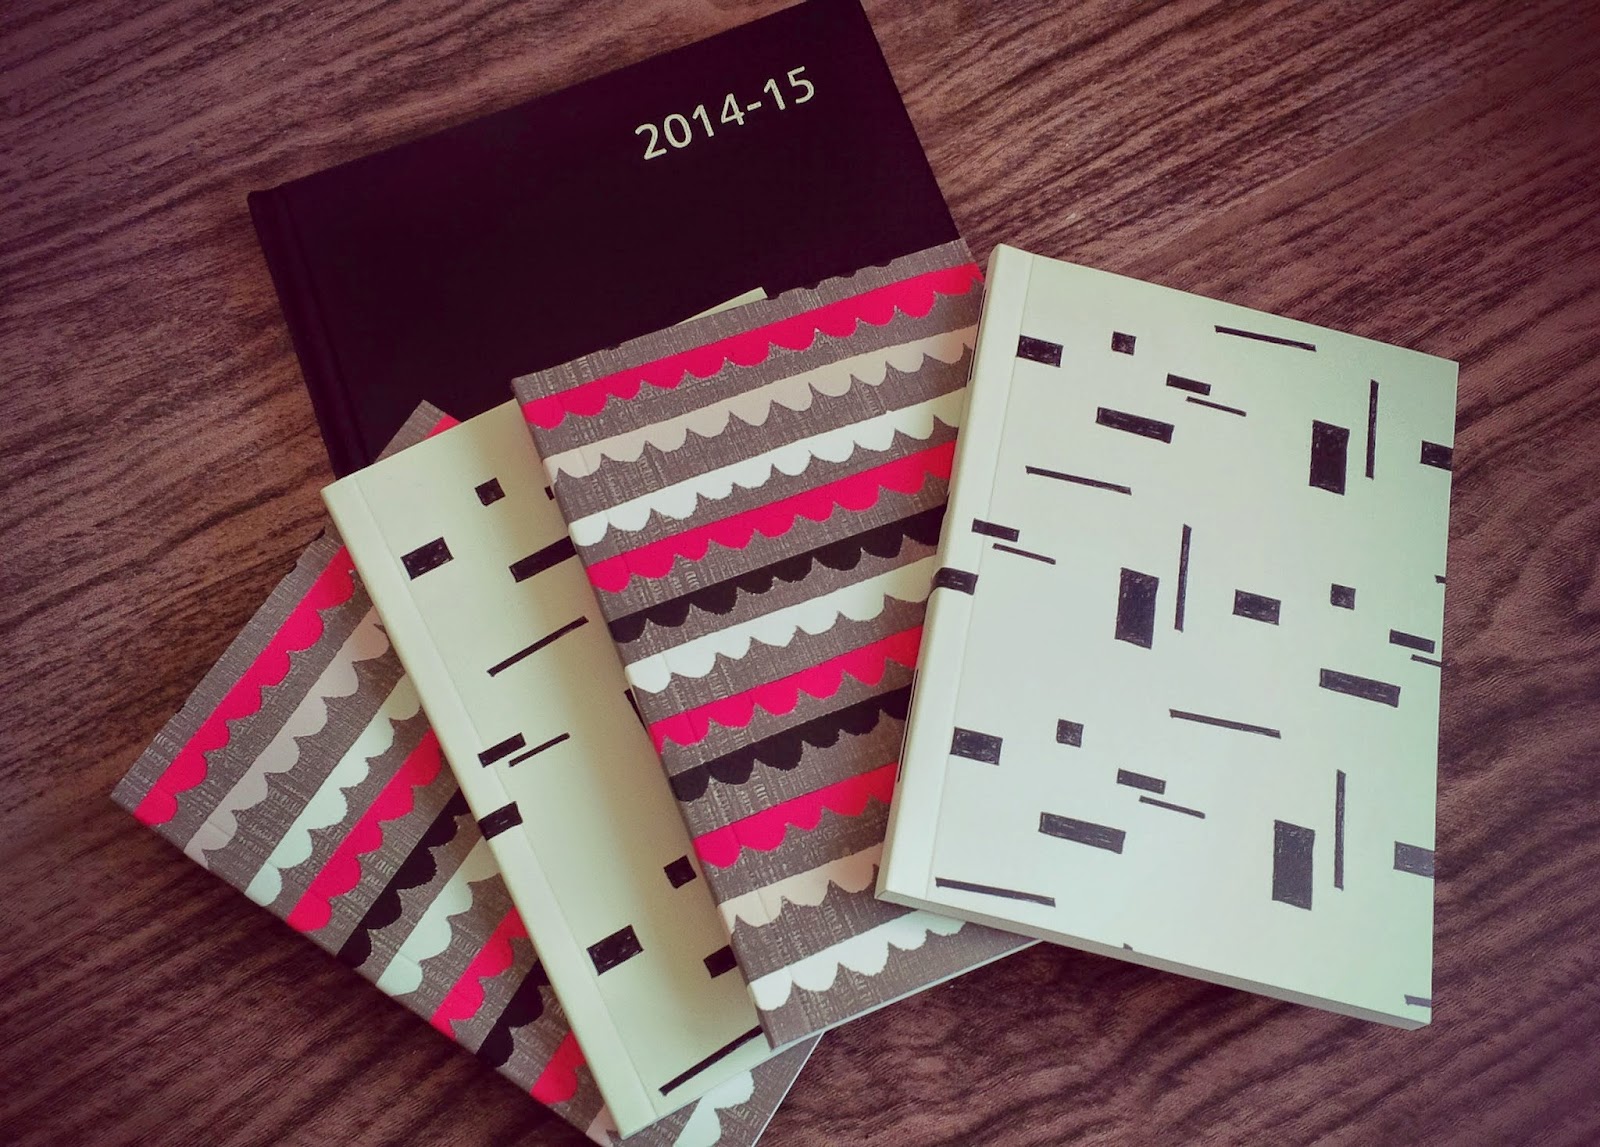
Today I have been organising all my lists! Who'd of thought a girl can have so many different lists? Lists to make lists! So I decided it's time to sort this out... I had these notebooks lying about and had to go to Tesco to purchase a diary (until I find my other one OOOOPS!)

So I created the spiffing little labels to go on the front.
Get yours here: Craftsy

Print your labels at best quality. (You could print them on label paper too ;))

I then laminated mine (because I like shiny) and then cut them out.

Next just glue them down with your favourite glue! I like UHU

And Taaaa dahhhh! Prepare to be organised!

I hope you enjoy using these labels. Please DO NOT SELL ANY PRODUCTS MADE FROM THIS DESIGN & PLEASE DO NOT RE-DISTRIBUTE THIS PATTERN! Thank you!!!!!! :)

Tess