
The time has come to reveal this months jewellery club! Whooo hooooo! This months theme was called 'Adventurer', naturally inspired by the great outdoors. I really enjoyed designing this month and wanted to continue a similar style from last month which is completely sold out. Anyway, let's take a look at the main listing image.

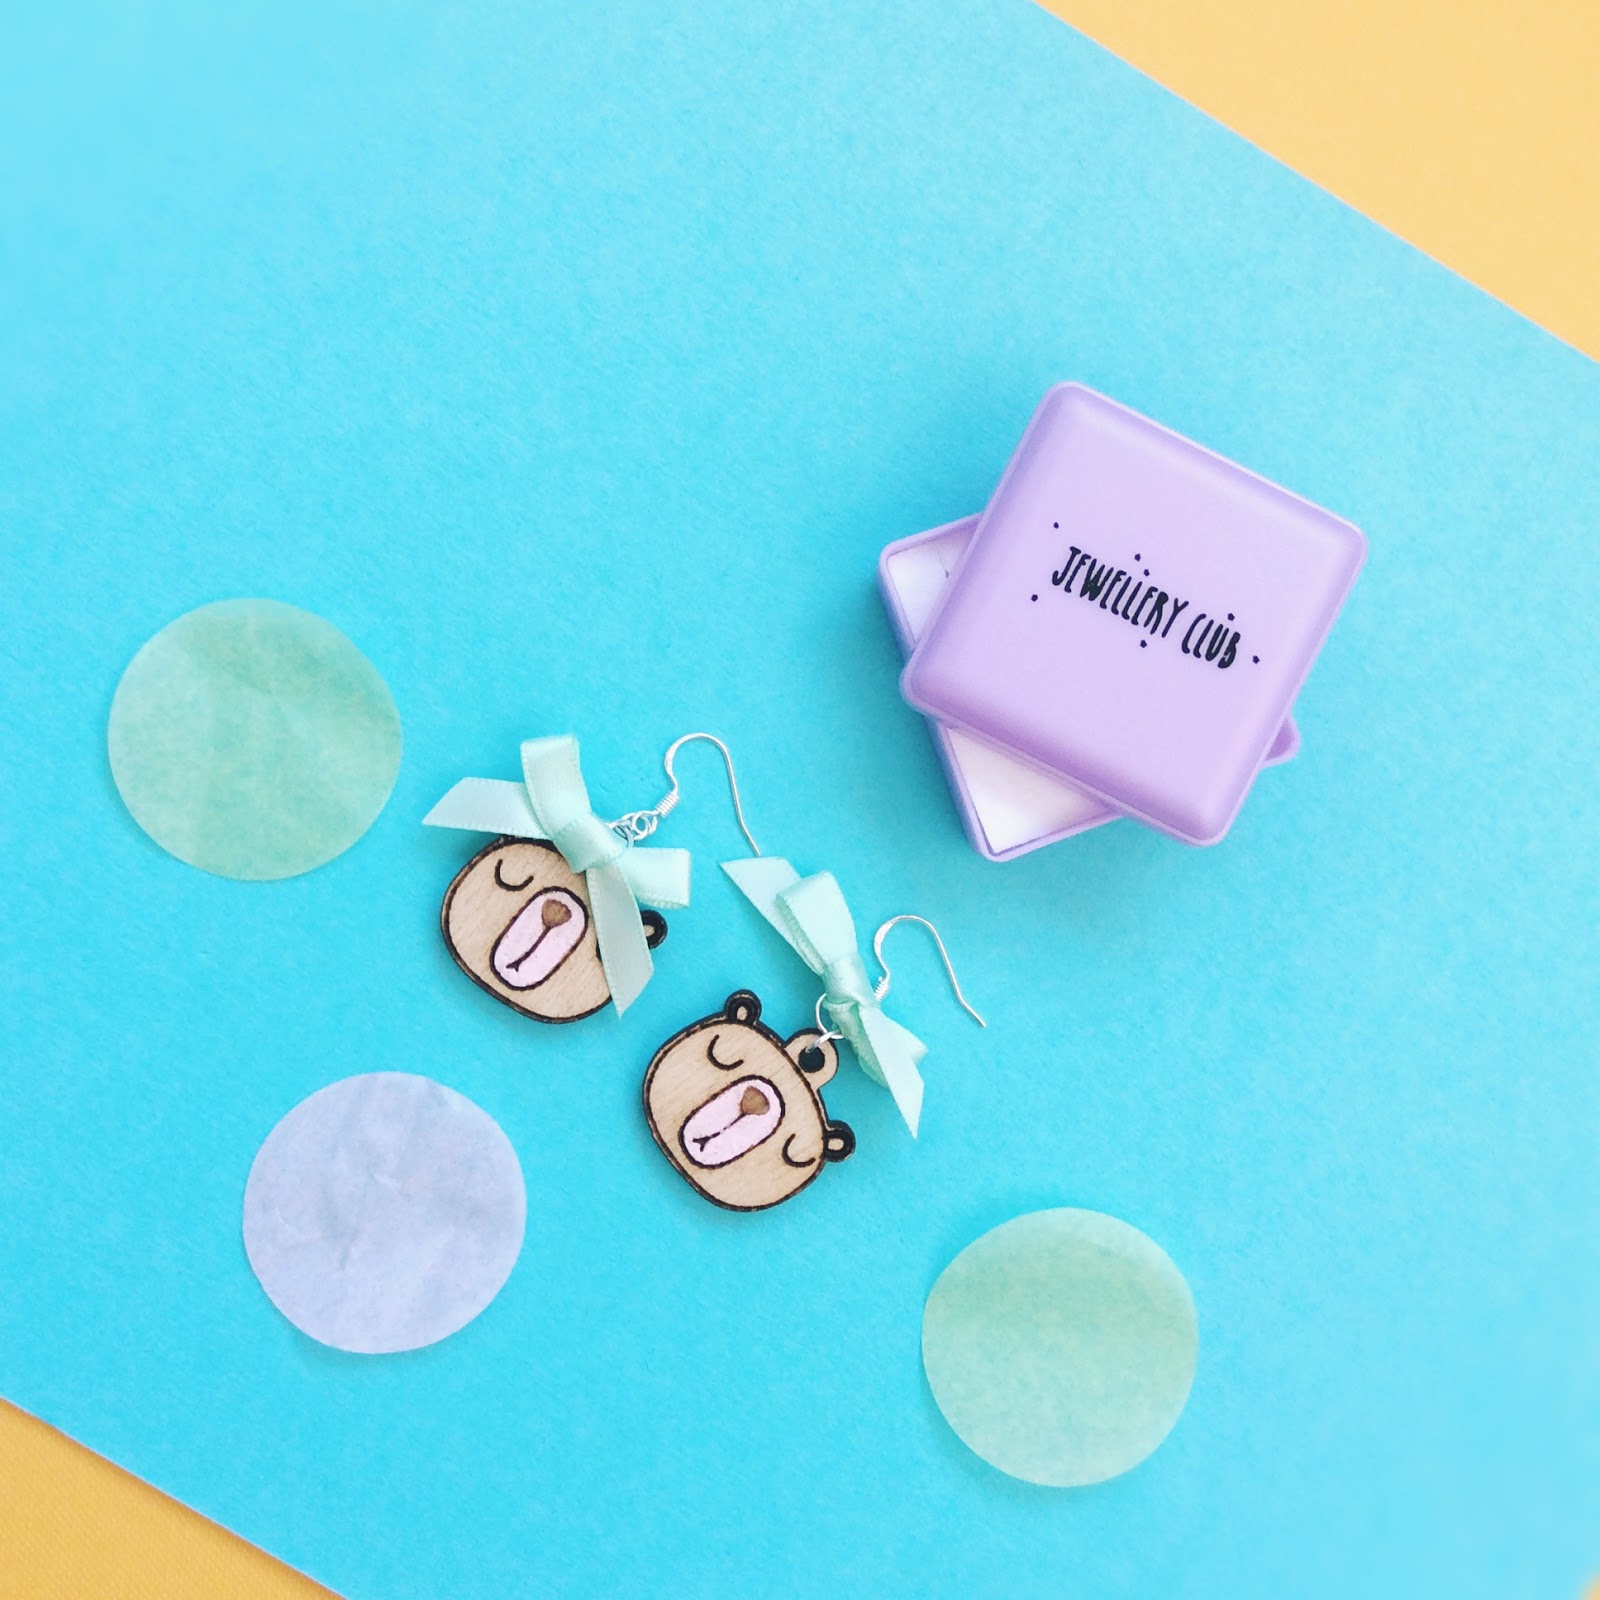
Super cute huh?! In this months package I created a large mountain necklace with crystal snow drop, adventurer shield brooch, some bear dangly earrings with pretty bows, a pair of teepee studs and a temporary tattoo set.
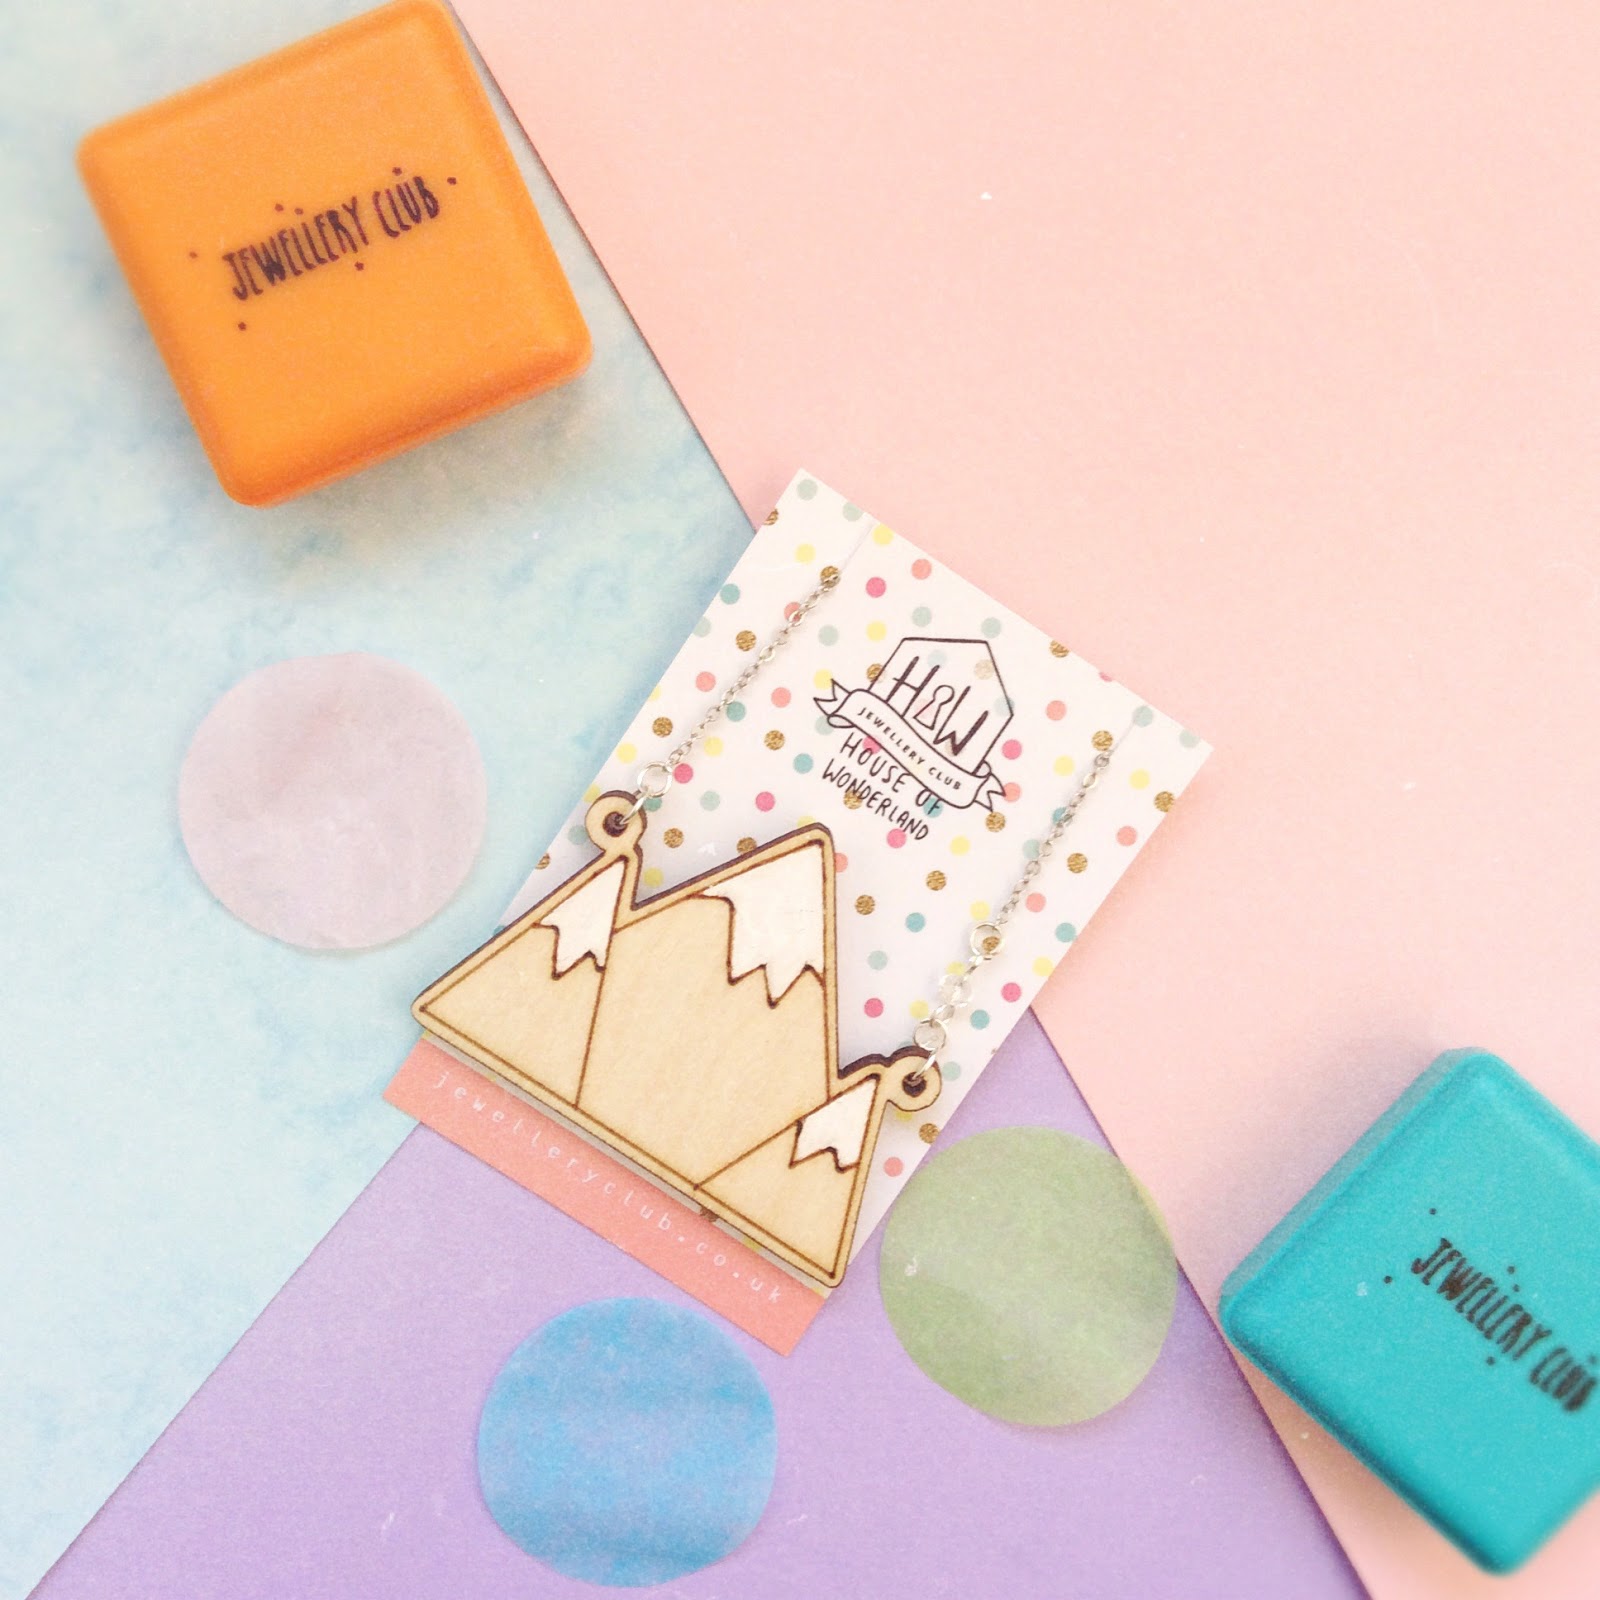
I decided to make the jewellery in birch laser engraved wood to give a natural outdoorsy finish. I had a little problem with the first load of wood as our local laser cutters accidentally done them all on MDF! So instead of letting them go to waste I decided to paint a couple of the mountains up and make cute little hanging pieces! Yay for cuteness!

By the time I got the wood I had just two days before dispatch day to hand paint 360 wooden pieces and package everything..... Q coffee.... I just about managed to get it all done on time and here is the final result....


This month was crazy! I think in the end my favourite piece was the mountain necklace. I even made an extra one for myself and have been wearing it pretty much every day! :D I'm so glad that I managed to get all the pieces made in birch wood as I think the little hand painted accents look fantastic!


Super cute huh?! In this months package I created a large mountain necklace with crystal snow drop, adventurer shield brooch, some bear dangly earrings with pretty bows, a pair of teepee studs and a temporary tattoo set.
I decided to make the jewellery in birch laser engraved wood to give a natural outdoorsy finish. I had a little problem with the first load of wood as our local laser cutters accidentally done them all on MDF! So instead of letting them go to waste I decided to paint a couple of the mountains up and make cute little hanging pieces! Yay for cuteness!

By the time I got the wood I had just two days before dispatch day to hand paint 360 wooden pieces and package everything..... Q coffee.... I just about managed to get it all done on time and here is the final result....


How pretty are all of those wooden pieces?!?
In this package you will find:
-Dainty silver birch wood necklace with crystal snowdrop (RRP £15)
-Birch wood teepee Stud Earrings (RRP £6)
-Statement Bear Earrings with Mint Satin Bow (RRP £7)
-Birch Adventurer Sheild Brooch (RRP £6)
-Adventurer Rockin Tattoo Transfers (RRP £5)
-A sprinkle of magic

This month was crazy! I think in the end my favourite piece was the mountain necklace. I even made an extra one for myself and have been wearing it pretty much every day! :D I'm so glad that I managed to get all the pieces made in birch wood as I think the little hand painted accents look fantastic!
If you missed out on this month we still have a few more available over on Etsy here
The next theme will be donuts and will be available as usual on the 1st of September at 9am over on the jewellery club website here.
TTFN!


